In a previous post titled “Which rice is the best for Japanese Cuisine in Denmark?“, I introduced Grødris as the type of rice that most closely resembles Japanese rice in Denmark.
Since I don’t have a rice cooker at home, I cook Grødris in a pot. However, when I tried the cooking method I learned in school, it didn’t turn out well. The rice at the center of the pot ended up mushy, while the rice at the bottom of the pot became burnt and too hard 😢
After much trial and error, I finally found a method that results in perfectly cooked, fluffy Japanese-style rice. I’m excited to share this method with you!
1) A Large Pot and Glass Lid Are Recommended
First of all, I recommend using a large pot and a transparent glass lid!
Using a larger pot helps prevent the rice from boiling over during cooking.
The glass lid allows you to see what’s happening inside the pot, making it much easier to adjust the heat at the right moment.
I use a relatively affordable pot and lid from IKEA, and I don’t have trouble cooking prefect rice. So, there is no need for an expensive pot set😉.
2) Choosing the Right Grødris Is Important
When buying Grødris, I recommend selecting grains that have fewer “pure white” rice kernels.
The pure white kernels, which are not translucent, are known as “immature” or “broken” rice, and contain less starch.
Also, it’s best to avoid powdery rice, as this is a sign of old rice.
From my experience trying various Grødris brands, the Budget brand from Føtex (a white bag with blue polka dots) has the most consistent quality and a decent taste 😁.
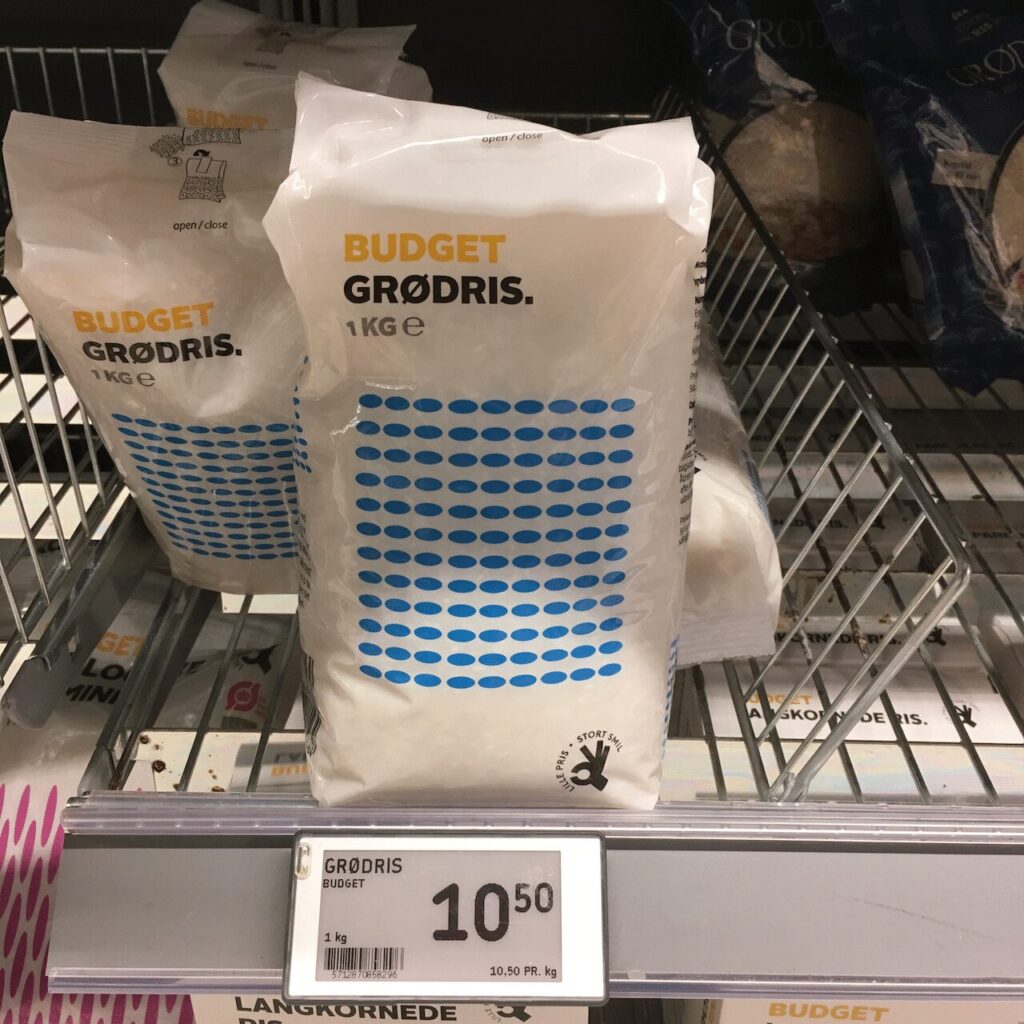
The next best option is from Rema 1000, but the quality may vary depending on the season.
Unfortunately, I found that Grødris from Netto and Lidl often had a musty smell.
3) How to Cook Grødris
Here are the steps to cook Grødris perfectly:
NOTE: In Japan, 1 cup of rice is 150g, and 2 cups are considered enough for 2 people.
Step 1: Wash the Rice
1-1: [Pre-wash]
Pour plenty of water over the rice and gently stir it a few times. Immediately drain the water.
1-2: [1st Wash]
Pour plenty of water again, and stir with your fingers spread as if you’re holding a ball about 20 times. Drain the water and then rinse the rice with plenty of water twice.
1-3: [2nd Wash]
Stir another 10 times with your fingers. Drain the water and rinse the rice with plenty of water twice.
Step 2: Add Water
After the 2nd wash, drain the water. Then, add the appropriate amount of water.
NOTE: Use 180ml of water for 150g of rice .
Let the rice sit for at least 10 minutes to absorb the water.
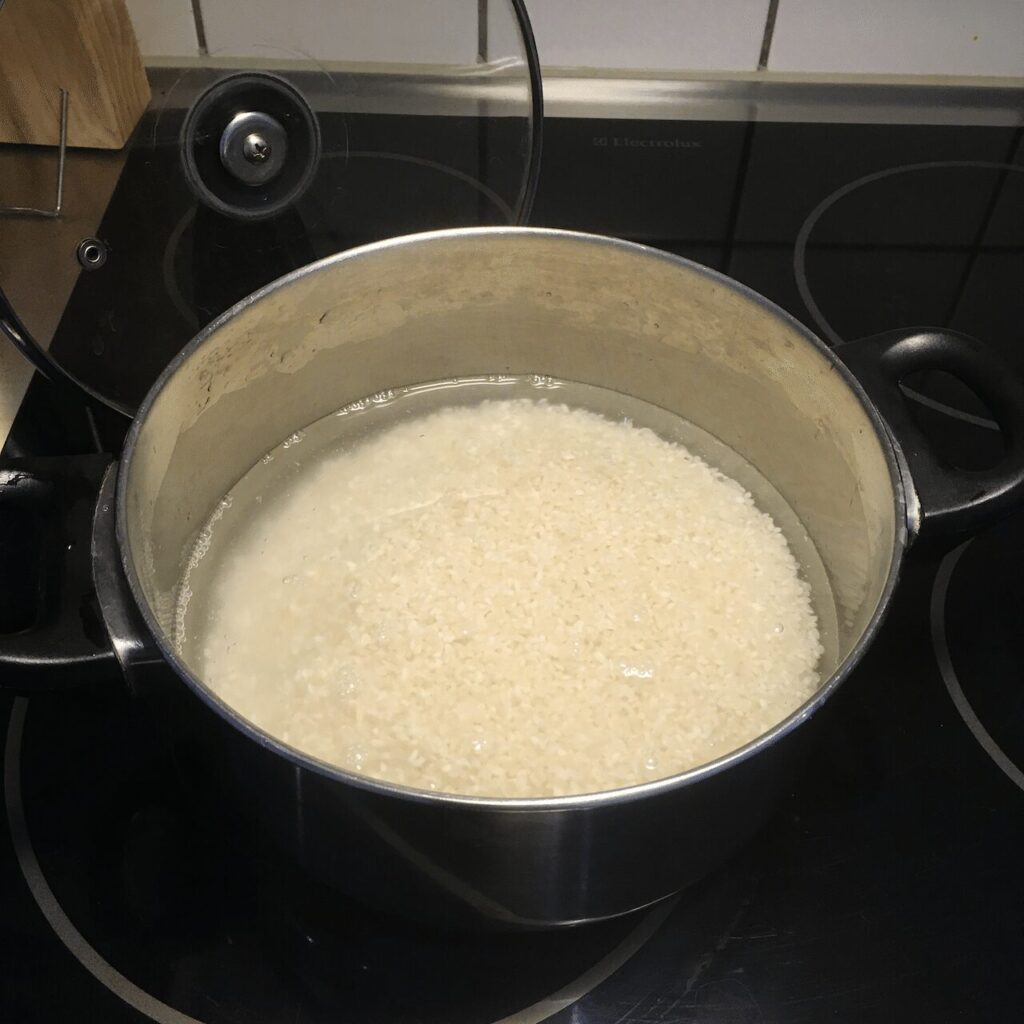
Step 3: Cook the Rice on Medium-High Heat
Cover the pot with a tight-fitting lid and cook on medium-high heat (setting 7 or 8 on an IH stove) for 7–8 minutes.
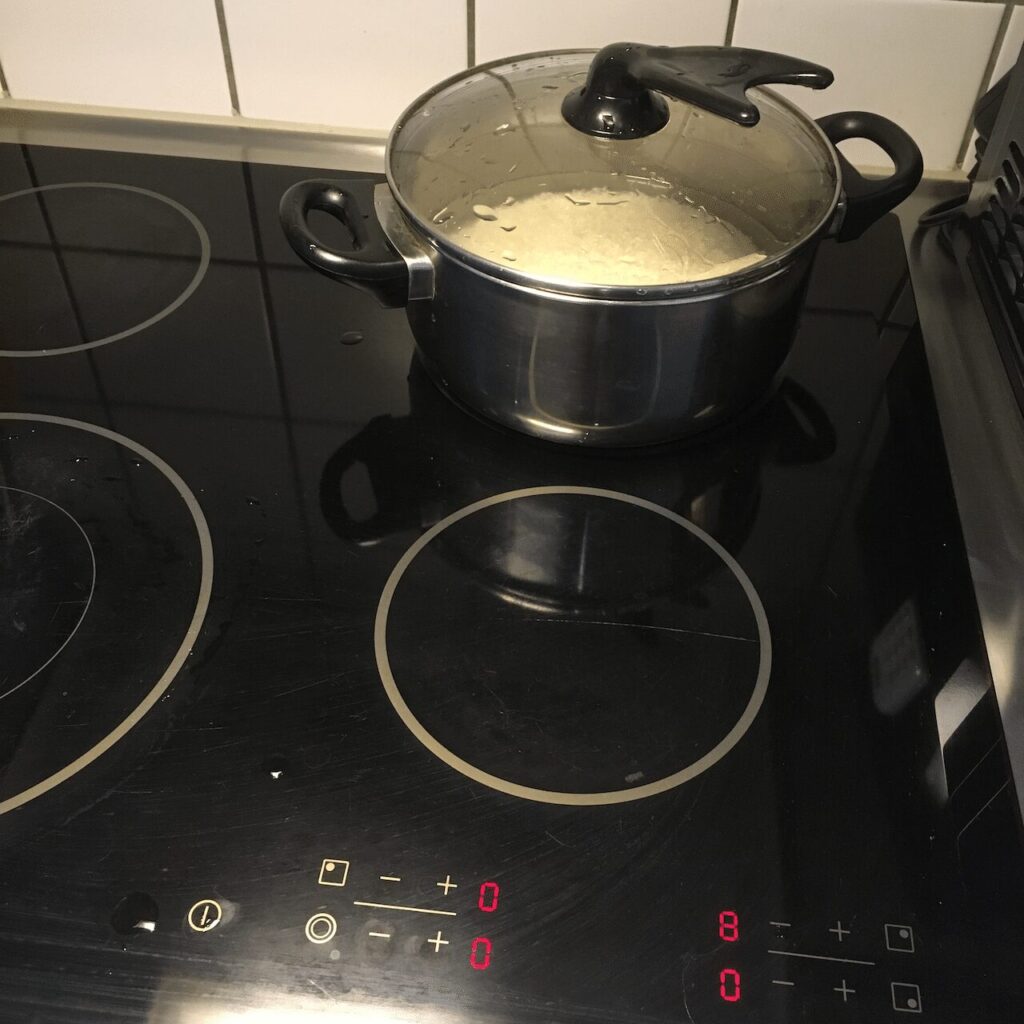
Gently shake the pot side to side a few times during cooking (do not open the lid).

Step 4: Continue Cooking the Rice on Medium-Low Heat
When the pot begins to boil and the large bubbles appear, reduce the heat to medium-low (setting 4 on an IH stove) and continue cooking for another 5 minutes.

Step 5: Continue Cooking the Rice on Low Heat
Once the small bubbles disappear and the surface of the rice is no longer wet, reduce the heat to low (setting 2 on an IH stove) and cook for another 6–7 minutes.
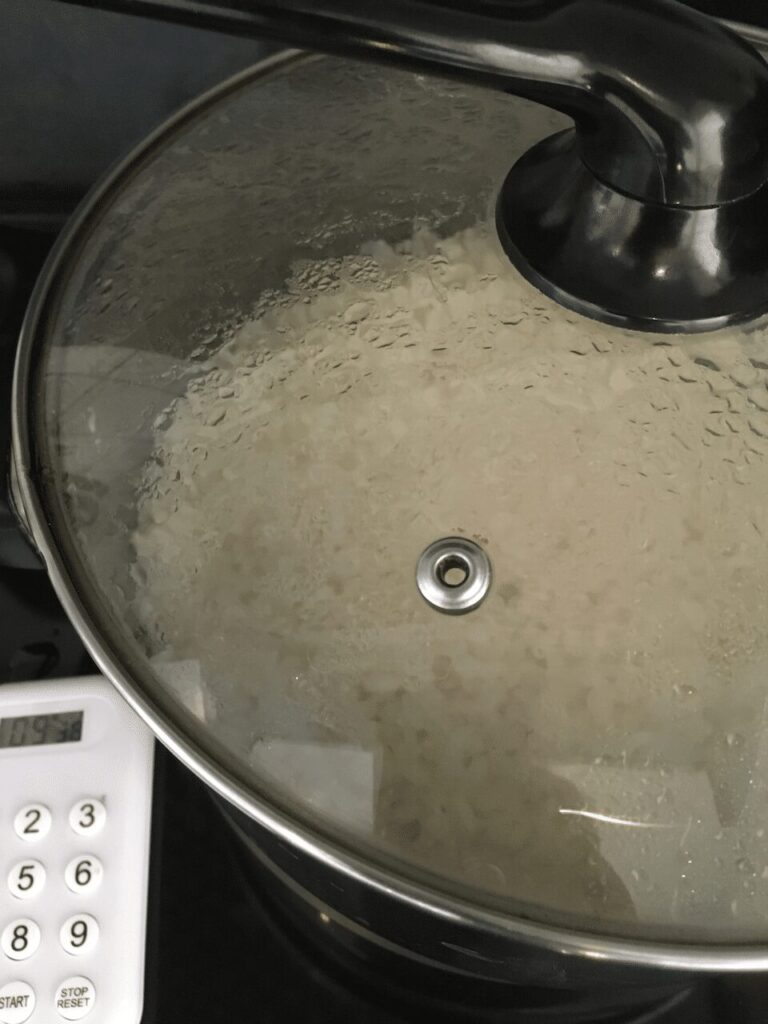
Step 6: Steam the Rice Off the Heat
After Step 5, remove the pot from the heat and let it sit for 5 minutes without opening the lid.
Step 7: Fluff the Rice
When opening the lid, be careful not to let any water droplets fall into the pot.
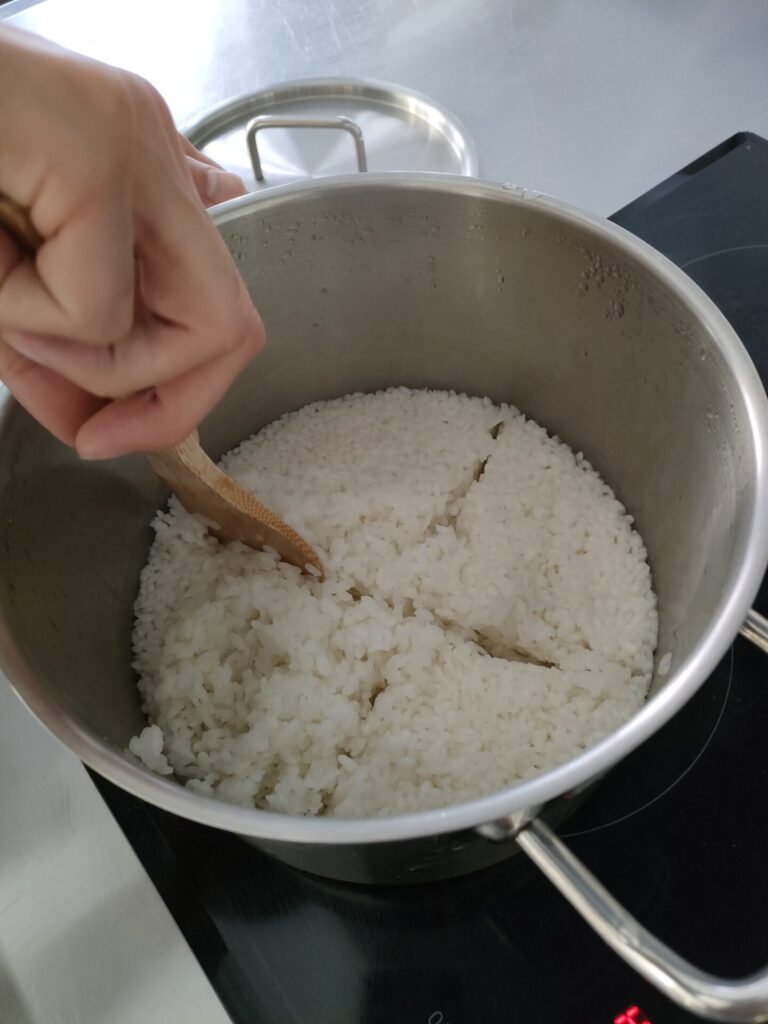
Gently fluff the rice using a wooden spoon. Firstly, make a “+” shape by sliding the spoon horizontally. Then, scoop a quarter of the rice from the bottom, gently turn it over and repeat the rest.
Finally, loosen the cooked rice gently. Don’t stir too hard; otherwise, the rice will become too starchy.
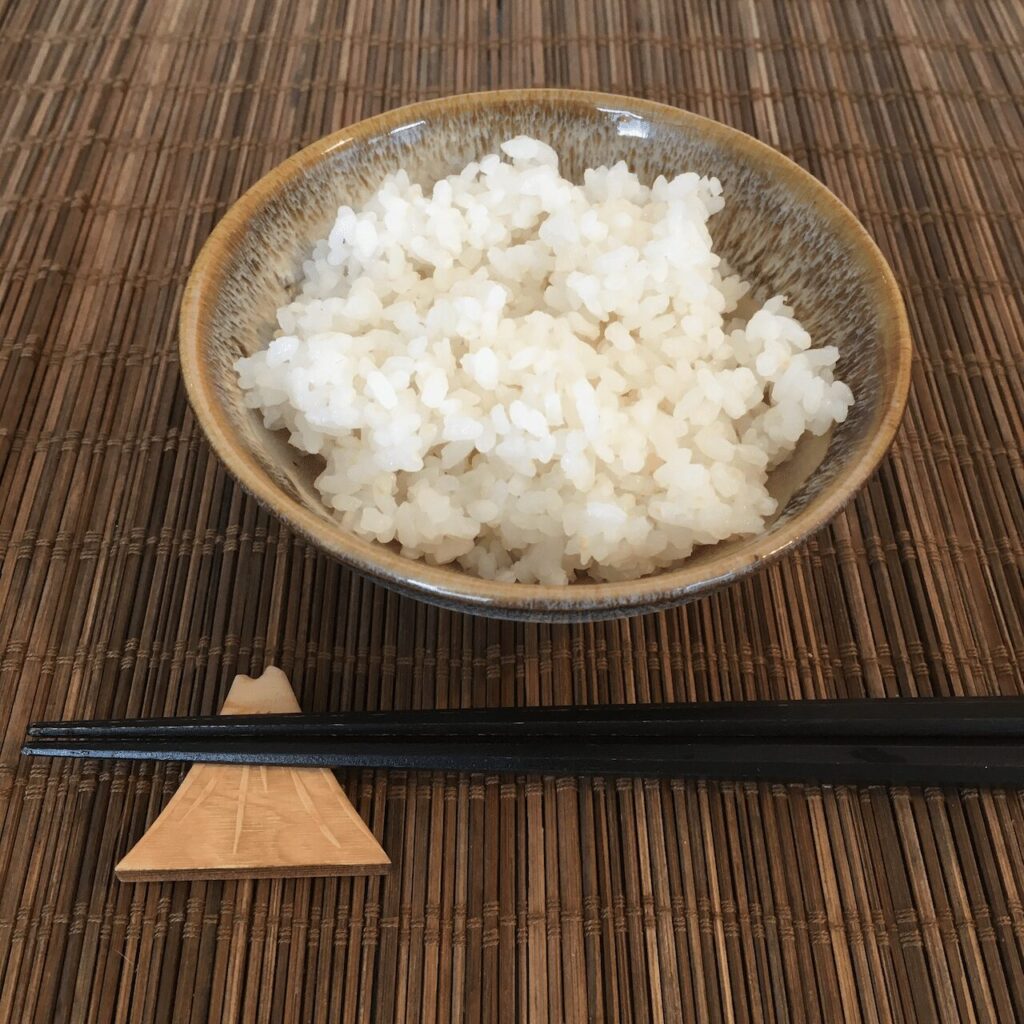
And that’s how you cook delicious Japanese-style rice using Grødris!
“I ta da ki ma su~! 🤤”

Pingback: Which rice is the best for Japanese Cuisine in Denmark? - japan-eye